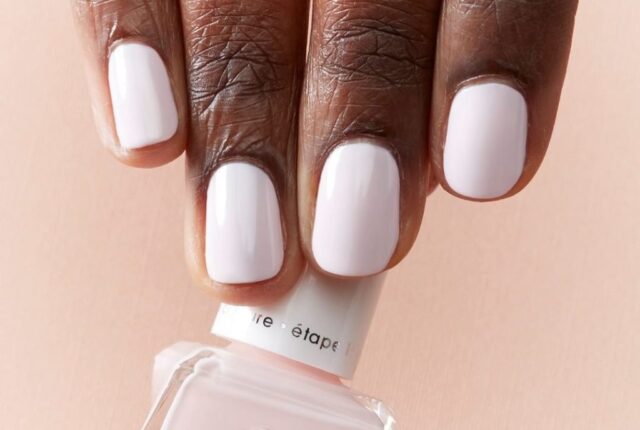
Women these days can’t go without a manicure. It has just become a standard for women’s fashion. You’ll rarely see a woman wearing her simple natural nails. Those times are far behind us. You have girls in high school doing their manicures. Thanks to social media platforms such as Instagram, we can see all sorts of nail experts selling their trade. But, that’s not bad. It can give you various ideas. At the end of the day, nails are something you want to do on your own. Are you a DIY person or do you have a person for your nails?
If you’re the former, this article is for you. The text below will give its best to tell you how to do a flawless DIY manicure at home. You can view it as a 2024 guide on this subject, but we’re talking about something eternal. Some things never change when it comes to nails. Others will change constantly, while some will stay the same even decades in the future. So, do you know how to do nails on your own? Let’s not get fooled there easily. This is not an easy task.
Manicure is a task that requires precision, dedication, time, effort, and above else the right equipment. You can’t do much in this domain if you’re not equipped. This is the first thing you need to do. If you do not have the right tools and are not sure where to get them, you’re free to check out what MelodySusie nail drill can manicure at home has to offer. Once you have everything necessary stocked on your shelves you can start with a manicure. Keep reading and see how it’s done all by yourself.
Cleaning
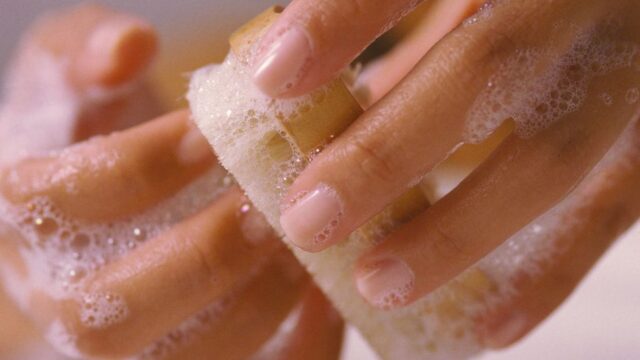
This is where it all starts. Good nails can only be done if you do the preparation the right way. So, you need to clean your natural nails with polish remover. So far, so good. This is the easiest way. Just, don’t miss any spots, and be sure to remove all the dirt from your nails. Wash both hands and nails once you’re done. now.
Clipping, Filing, and Buffing
This is the first opportunity where you’ll need all of your nail tools. So, bring out the heavy weaponry. The first thing you need to do in this segment is to clip your nails if they’re too long. After this, you need to shape them to be either square-looking or round, and anything in between if you like. Leave buffing for the end.
Prepare The Cuticles
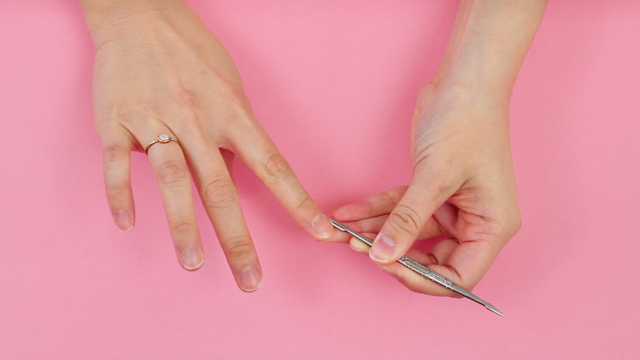
By preparing we mean removing them. You can cut them out completely, or you can just push them back if that feels comfortable for you. Either way, you need to be careful in this region as you can hurt yourself, and feel uncomfortable under your new nails.
Hand Exfoliation
An important step. You need to be thorough when doing this part. It is all about removing the dead skin from your hands, nails, fingers, and even wrists. Wash them all as if your life depends on it. The best way to do the finishing touch is by using a moisturizing scrub.
Apply Moisture to Hands and Cuticles
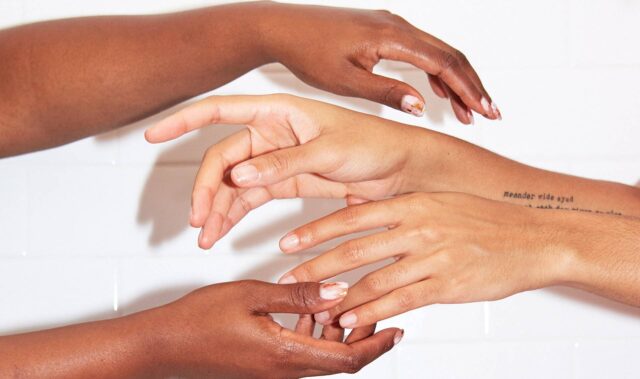
Take good care of the sin that surrounds the nails. If you skip this part you might experience various negative consequences, some of which might be quite unpleasant. Starting from dry skin, pain, and even having your nails drop off. You can use hand cream or some sort of massage oil. That’s right, give your hands a massage once your nails are halfway done.
Base Coating
This is where things get interesting. Nail protection and insurance against chipping are vital. That’s why you are doing the base coating process. When you do the base coat, you don’t need to rush things. Just leave each of your nails to rest a few minutes after every layer of coating.
Start Coloring
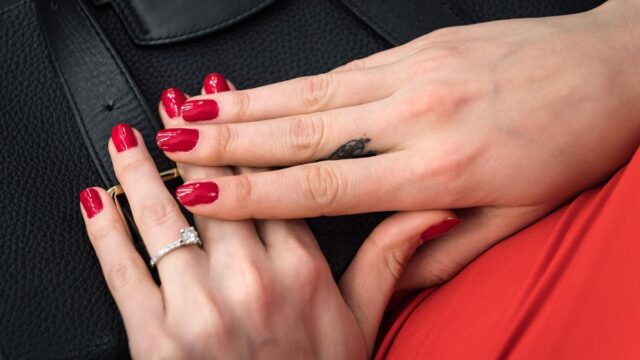
Once all of the steps from above are done, it is time to pick your color and start coloring your nails. This is where you should be creative. After all, you have so many options, that the choice should be a piece of cake. Unless you become indecisive. But most people who do their nails by themselves start the process with color in mind.
Continue The Process
Coloring is the most important process when doing a manicure, so far. It is still not over. But, color is not done only in one layer. No, you need to layer it up. Once the first session is done, and you let it dry, you need to do the second layer of coloring. Just make sure that you have enough breaks between the two layers. You want to have a nice color when you’re done, without the marks of repeated work.
Topcoat Time
This is a sign that you are almost over. All that is left is to do the topcoat. The finishing touch as some would call it. Not the last point on our board, but as we said, we’re there. Almost! Topcoat serves a few purposes when it comes to manicure. First, it is an anti-chipping measure. Second, it gives your nails that desirable shine. You want your nails to remain as shiny and good-looking as possible, right? This is the best way to do it. The one thing you should pay attention to is not to go overboard. If you do that with a topcoat, you might risk the entire process to go to ruin.
Clean Around The Edges
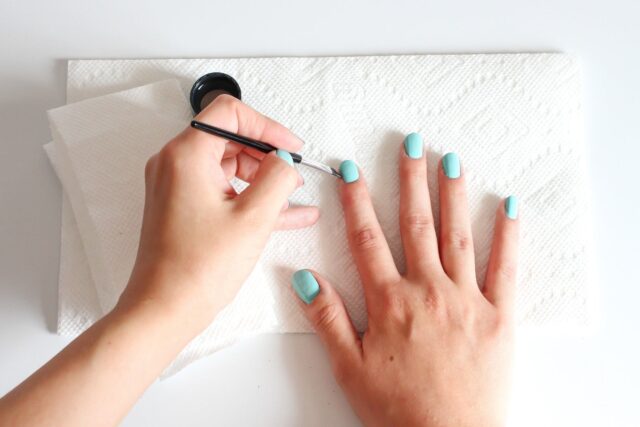
The final touch. Considering that not even professional manicure operators can be done with edges from the start you won’t be able to handle them either. So, the last thing you need to do is to work around the edges and give your nails that finishing touch. After that’s done, just leave them to dry and you’re all set to go.
Yes, it is hard work. But a rewarding one. DIY nail operation is the most satisfactory sensation a woman can feel when it comes to smaller cosmetic procedures. You should try it sometimes. Now you know how to do it.


