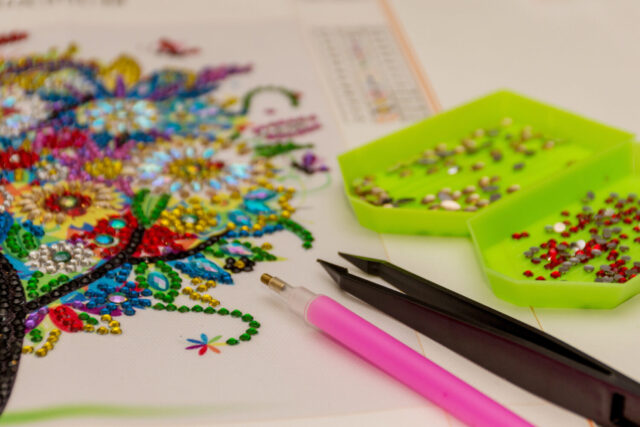
Diamond painting? No, it’s not about brushing strokes on gems, but oh, it’s so close in its gleaming charm! Here’s the big idea of this craft hobby: it’s a glorious fusion of cross-stitch, paint-by-numbers, and mosaics. This art involves sticking tiny, gleaming resin diamonds onto a marked canvas to build a mosaic that lights up the room. Those glittering little gems create an appeal you can’t achieve with regular paints.
Forget brushes; in this world, it’s all about the sparkle. Let’s paint with diamonds. Each diamond’s placement on the canvas becomes a rhythmic dance, leading you closer to a shining masterpiece. Now, imagine your canvas slowly filling up with these sparkling diamonds, each tiny piece getting you one step closer to a complete image. It’s like piecing together a puzzle, but way shinier!
If you’re pondering the end product, picture this: it’s akin to bottling up the night sky, each star a sparkling diamond, and then placing that bottle in your living room. The starry shimmer it emanates and the pride it bestows is unmatched. And the best part? Every glance towards it reminds you of the fun journey of creating it, piece by piece, diamond by diamond.
Choosing the Right Kit: What Beginners Should Look For
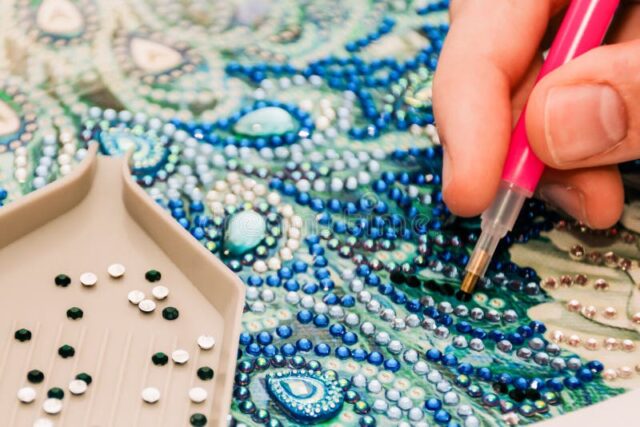
When starting out, you’d think choosing a diamond painting kit is like picking candy at a store, but nope! With so many beautiful diamond painting kits for beginners out there, the options might seem overwhelming. There’s more to it than grabbing the shiniest box. For a beginner, the kit should be user-friendly. Ensure it comes with clear instructions. If you pick up a box and it looks like it’s written in hieroglyphics, maybe give that one a miss!
But hey, if you’re feeling adventurous and think, “I can totally figure this out!”, more power to you. Remember to check for completeness. The kit should contain the canvas, an applicator (trust me, this little tool will be your BFF), a tray, wax, and of course, the diamonds. And not just any diamonds, but enough to complete your masterpiece. You don’t want to be almost done and then run out, turning your beautiful landscape into a balding lawn.
When it comes to size, beginners might want to opt for smaller canvases. It’s like training wheels for diamond painting! Once you get the hang of it, you can aim for that grand masterpiece. It’s always better to gain confidence with a smaller piece before tackling the big leagues. Additionally, quality matters. A quality canvas ensures the adhesive remains sticky, and the grid lines are clear. So, always aim for a good balance between price and quality. After all, we’re talking about creating art here, and you deserve the best start!
Round vs. Square Drills: Decoding the Basics
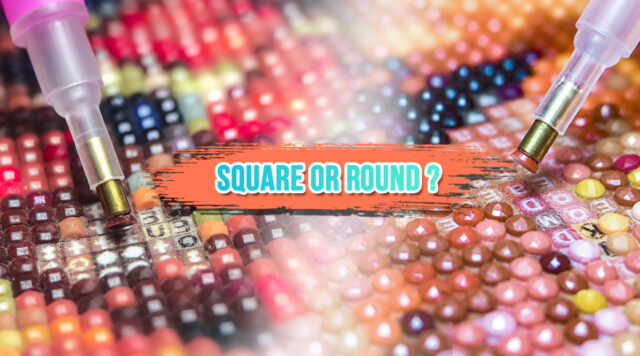
Round or square? That is the question! But fear not, this isn’t some Shakespearean tragedy. In the diamond painting world, these are the two main types of diamonds or drills you’ll encounter. And then, of course, there’s the dazzling world of AB drills, which we’ll dive into momentarily. Now, don’t get bogged down; there’s no right or wrong answer. It’s more about personal preference.
Round drills are easier to pick up and place on the canvas, making them ideal for beginners. They’re like the kind-hearted teachers you had in elementary school, guiding you gently through the lessons. They don’t fit perfectly edge-to-edge, so there’s more forgiveness if you make a little mistake. Hence, the finished artwork has a slightly mosaic feel.
Square drills, on the other hand, are the precisionists of the diamond world. They fit snugly together, no gaps in between. It’s a bit like a puzzle, each piece fitting tightly with the next. Perfect for those who adore that smooth, seamless look. However, they require a bit more accuracy when placing. Think of them as the strict but fair professor – demanding, yet so satisfying once you’ve aced the test.
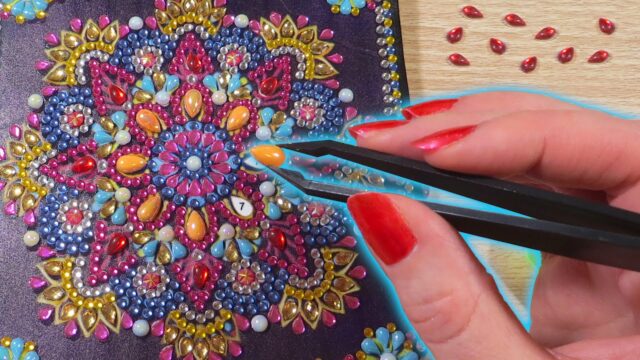
Now, a special note on AB drills. “AB” stands for Aurora Borealis, named for that shimmery Northern Lights effect they give off. These drills have a special iridescent coating on top that reflects multiple hues, often quite different from the base color of the drill. Whether used with round or square drills, AB drills add an extra dimension of sparkle to your diamond painting. It’s like sprinkling a little magic on your artwork. They’re a bit like the cherry on top; not always necessary but oh-so-delightful when present.
So, which one to go for? If you’re after a relaxed, easy-going experience, round drills might be your cup of tea. But if precision and the challenge of getting that perfect alignment excite you, square drills await your mastery. And if you’re looking to add a touch of whimsy and magic, throw in some AB drills to the mix. Just remember, whether round, square, or AB, with each drill you place, you’re one step closer to creating a masterpiece. And that’s where the real joy lies!
Simple Techniques to Get You Started with Confidence
Alright, newbie, buckle up! Now that you’re well-versed with the types of drills available, including those enchanting AB drills, it’s time to roll up your sleeves and get your hands a bit shiny. Dive into the diamond painting world with these straightforward techniques that can make your journey smoother and, dare I say, shinier.
- Starting Point: Begin from the bottom and work your way up. This ensures your hand doesn’t smudge or disrupt the diamonds you’ve already placed. It’s a bit like building a house; you wouldn’t start with the roof, would you?
- Diamond Tray Magic: Shake, shake, shake! Give that diamond tray a little shimmy. This makes the diamonds flip right side up, making it easier to pick them up. It’s like flipping pancakes, but with much less mess and way more sparkle.
- The Wax and Applicator Love Affair: The wax helps the applicator tool pick up the diamonds. Now, here’s a pro tip: For those special AB drills, ensure you don’t use too much force. Their iridescent coating is beautiful but can be a tad delicate. Treat them like the little gems they are.
- Checkerboarding: This is a neat technique, especially when working with square drills. Start by placing diamonds in an alternating pattern, like a checkerboard. It helps in aligning the drills properly, ensuring fewer mistakes. When you incorporate AB drills in this pattern, they can give an interesting contrast, making your art piece even more captivating.
- The Multi-Tool Miracle: This tool lets you pick up and place multiple drills at once. It’s great for large areas with the same color. But a word of caution: While the multi-tool can be a time-saver, be gentle when using it with AB drills. Their unique shimmer is worth the extra care!
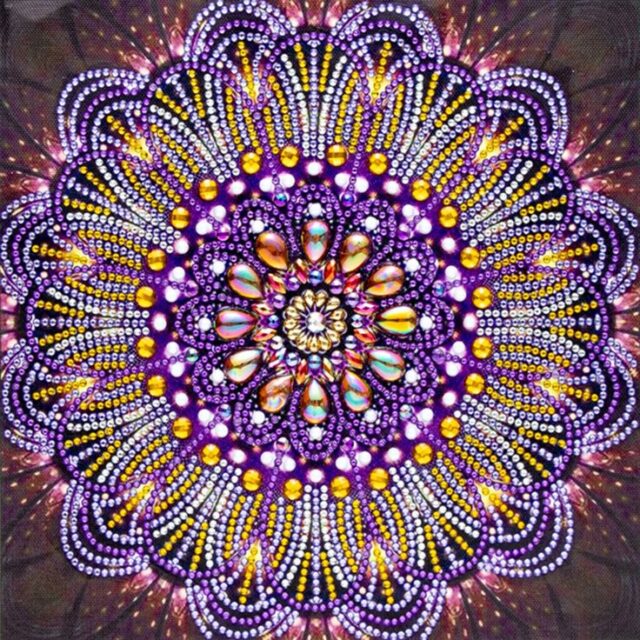
Remember, diamond painting is as much about the journey as the final piece. As you play around with these techniques, and especially as you incorporate those stunning AB drills, you’ll find your rhythm. It might take a bit to find your groove, but once you do, there’s no turning back from this glittering realm of creativity!


